Menu
Call this Friday to Get 10% OFF
Call this Friday to Get 10% OFF
24-Hour Emergency Electricians in DallasCall this Friday to Get 10% OFF
Call this Friday to Get 10% OFF
24-Hour Emergency Electricians in Dallas
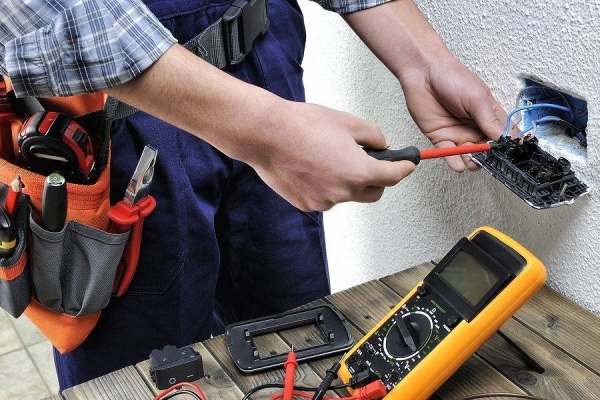
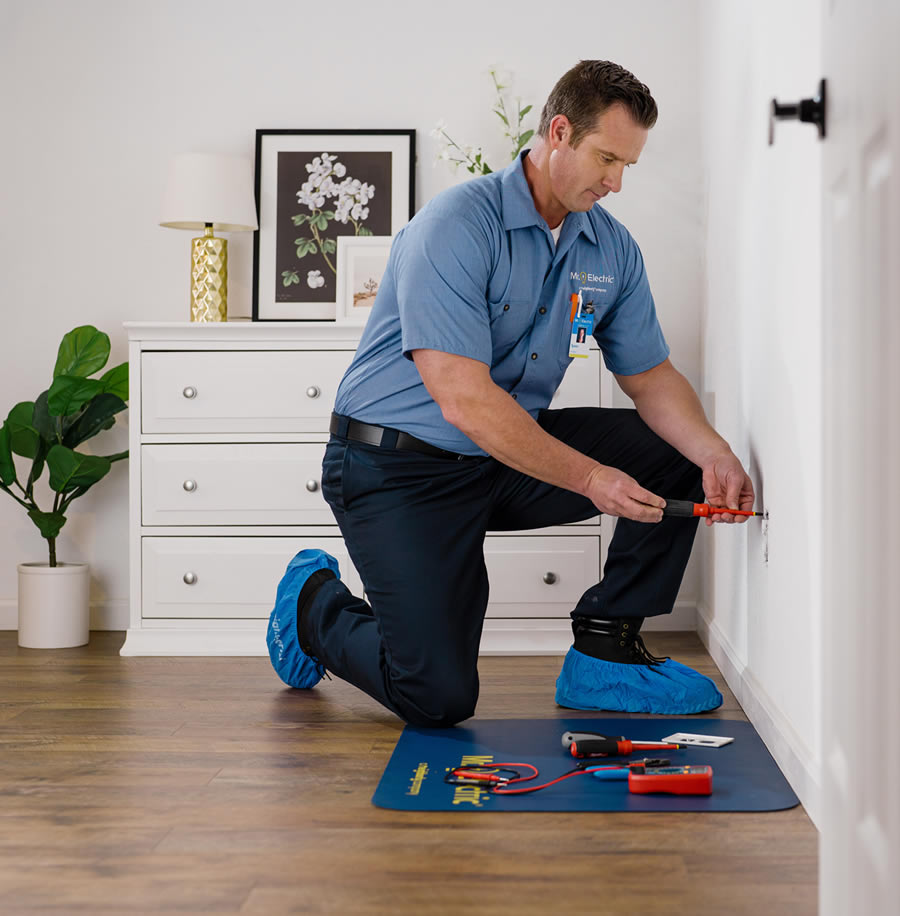
The digital multimeter is an electrician’s best friend, but it’s also incredibly useful for homeowners and business owners who want to tackle basic electrical troubleshooting. One common issue that arises is a malfunctioning circuit breaker.
Knowing how to test a circuit breaker using a digital multimeter can save time and money, and it can ensure your electrical system’s safety. In this brief article brought to you by Mr. Electric, we walk you through the process step-by-step.
This guide should help even if you have little to no experience with electrical work, but it is always advisable to hire a certified electrician if there are serious safety risks. Scorch marks, sparking, and burning smells are all RED FLAGS! Call Mr. Electric if you need urgent circuit breaker repair.
A circuit breaker is a safety device designed to protect an electrical circuit from damage caused by overcurrent or short circuit. It automatically interrupts the flow of electricity if it detects a fault, thereby preventing potential hazards such as electrical fires.
However, circuit breakers themselves can sometimes fail, and testing them with a digital multimeter is a straightforward way to diagnose the problem.
Before starting, ensure you have the following tools and safety measures in place:
No matter the size or complexity of your residential or commercial project, you can count on us to provide professional, high-quality results.
For professional and cost-effective smoke detector replacement in Dallas, TX, rely on the qualified and experienced electricians in Dallas, TX.…

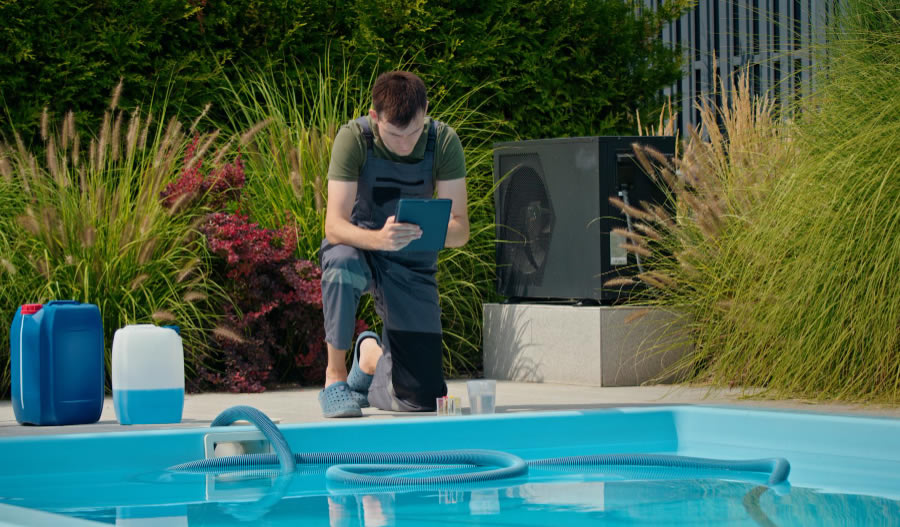
Are you tired of waiting until June or July to enjoy your swimming pool? If you want to get the most…
Dealing with electrical problems can be frustrating and challenging for busy families and businesses. At Mr. Electric of Dallas, we are…
Has it been too long since your last appointment with a qualified electrician? Sometimes, damaged circuits, outdated wiring, and other…
Are you looking for creative ways to decrease your monthly energy usage while improving the convenience and comfort of your living…
.webp)
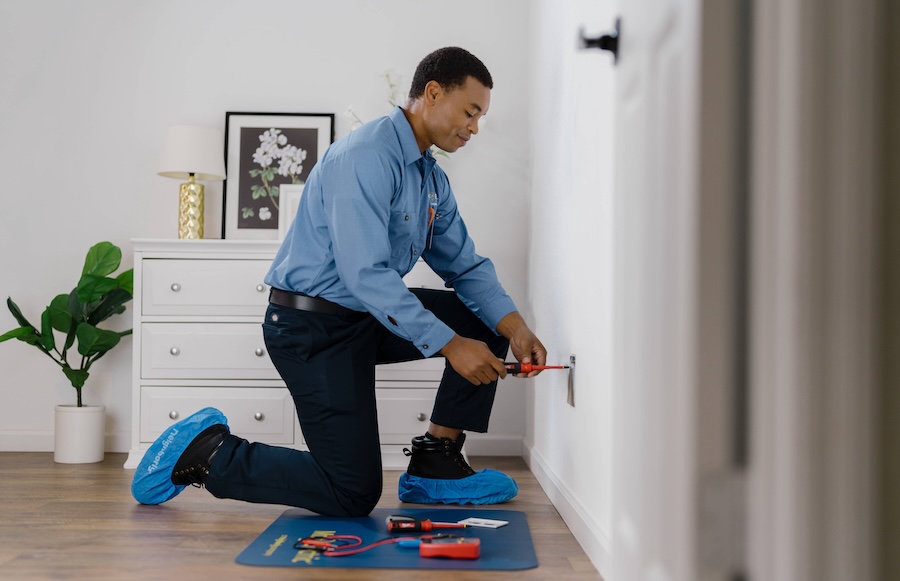
Always take safety precautions seriously. If you feel unsure or uncomfortable working with electrical components, consult a certified electrician. To have a uniformed electrician handle the electrical repair service, call Mr. Electric.
If you get a normal voltage reading but the breaker still trips or doesn’t work correctly, there may be an issue with the connected circuit or appliance. If you get no voltage or continuity, it’s a strong indication that the breaker is faulty and needs replacement.
Whether you need an electrical panel replacement or a quick repair, the certified electricians at Mr. Electric are happy to help. Call now for an urgent electrical repair service or to schedule an appointment for a better time.
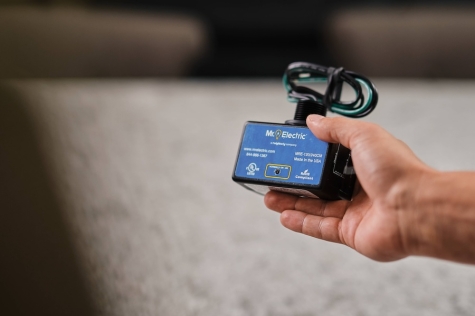
If you’ve ever had an expensive electronic fried during a power outage or had to put out an electrical fire after a random power spike, you know the kind of damage a power surge can cause. That’s where power surge protection comes in. So, if…
Read More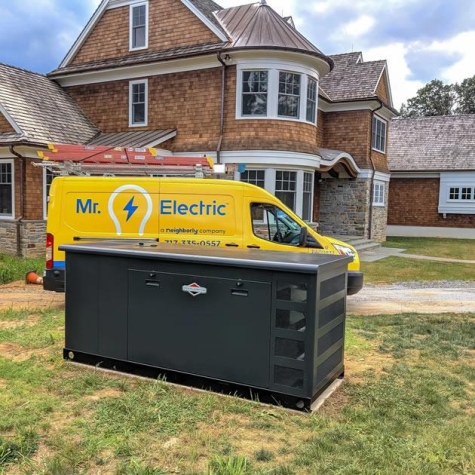
The decision to invest in a backup power source is a significant one, and choosing the right fuel type is a key aspect of this investment. The common fuel sources for standby generators include natural gas, diesel, and propane. Each one…
Read More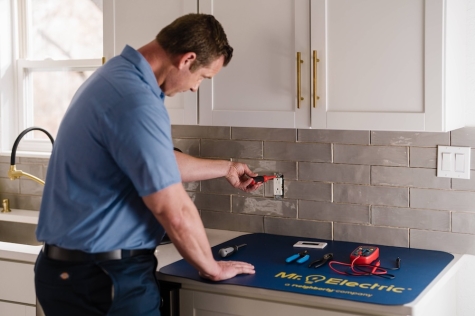
At Mr. Electric, we understand that dealing with electrical issues can be frustrating and inconvenient. However, knowing basic electrical troubleshooting steps can save the day and prevent serious electrical hazards. In this guide, we’ll share basic electrical troubleshooting tips for homeowners. But remember, if an…
Read More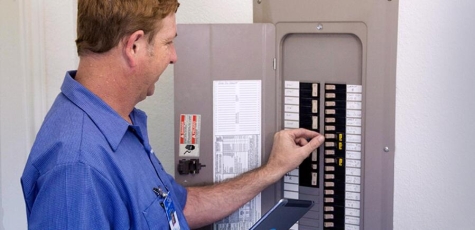
Frequently tripping circuit breakers often point to overloading, short circuits, or ground faults. However, breakers that keep tripping could be a sign of a failing electrical panel, outdated wiring, or loose connections. Frequent circuit breaker tripping is not just a safety hazard, but it’s also…
Read More