Menu
Call this Sunday to Get 10% OFF
Call this Sunday to Get 10% OFF
24-Hour Emergency Electricians in DallasCall this Sunday to Get 10% OFF
Call this Sunday to Get 10% OFF
24-Hour Emergency Electricians in Dallas
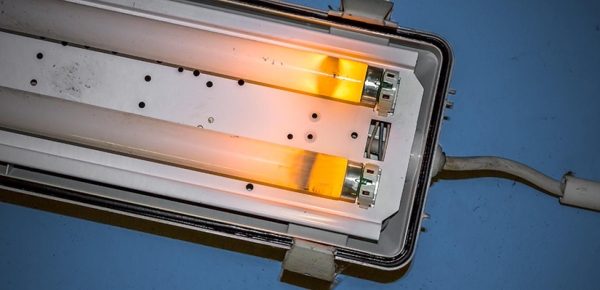
You don’t have to throw away your flickering and humming fluorescent light fixtures when you can consider a fluorescent light Ballast upgrade. All fluorescent lights require the Ballast to produce light, and the process of installing a new one takes roughly 10 minutes. If you are unsure of your ability to replace a light Ballast, please contact Mr. Electric of Dallas and a certified electrician will be on hand to replace the light Ballast.
Gather your tools, and begin the replacement of light Ballast
The first step you must take is to gather all the tools, these include; The non-contact Voltage tester, the wire stripper or cutter, the wire nuts, the socket wrench, and your smartphone or camera. The first step you must take is to turn off the power at the breaker box, then remove the cover of the fluorescent fixture, then remove the fluorescent tubes. You can remove the fluorescent tubes by twisting the bulb at 90 degrees then tug down the metal contacts located at the end of the bulb until the contacts conveniently slide out of the socket, for you to remove the bulb.
Remove the cover plate once the bulb is removed. There is a wiring cover plate located in the center of the fluorescent fixture, then locate those tabs that hold the cover in place before you squeeze the sides of the cover, in order to release those tabs from slots.
The next step is to check the voltage, with the non-contact voltage tester, just before touching the wires and connections. Make sure you take the pictures of the wires just as a reference before installing the new light ballast. Make sure you write down the number from the old ballast when going for the replacement ballast or contact Mr. Electric of Dallas electrician to get the proper Ballast replacement for you.
Other steps in replacing the light Ballast in your Fluorescent fixture
No matter the size or complexity of your residential or commercial project, you can count on us to provide professional, high-quality results.
For professional and cost-effective smoke detector replacement in Dallas, TX, rely on the qualified and experienced electricians in Dallas, TX.…

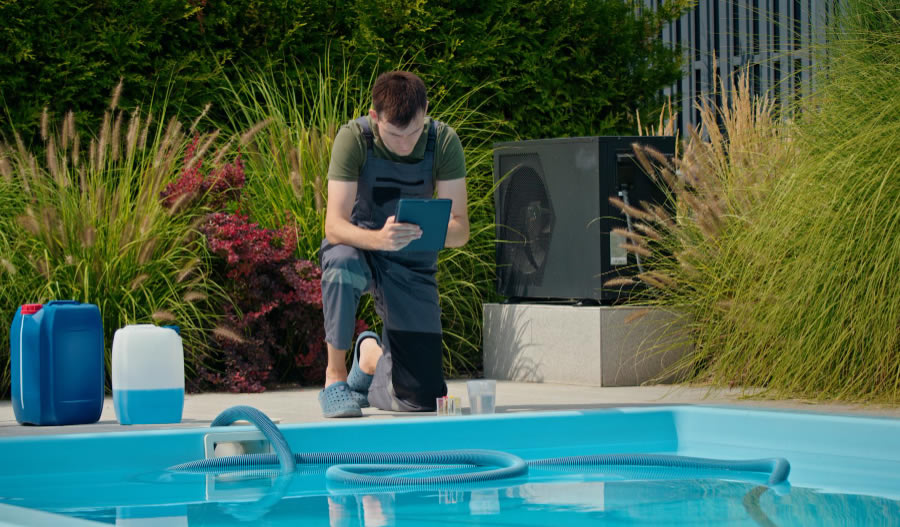
Are you tired of waiting until June or July to enjoy your swimming pool? If you want to get the most…
Dealing with electrical problems can be frustrating and challenging for busy families and businesses. At Mr. Electric of Dallas, we are…

Has it been too long since your last appointment with a qualified electrician? Sometimes, damaged circuits, outdated wiring, and other…

Are you looking for creative ways to decrease your monthly energy usage while improving the convenience and comfort of your living…
.webp)
Now that you have your new Ballast with you, the next step is to prepare the wires for installation of the new Ballast. Remove the damaged areas of the ballast wires and strip ½ an inch insulation from the ends with the use of wire strippers. Install the new ballast by simply mounting it to the fixture with the aid of mounting nuts and bolts, as well as the socket wrench. Connect your new Ballast wires to the wire nuts (check the photo of the wires you took for reference).
The next step is to re-install all the remaining lighting components by simply putting the wire cover plate back, followed by the bulbs as well as the fixture lens. Restore the power by clicking the circuit breaker back on. The final step is to ensure that the old ballast is properly disposed of. Older ballasts, especially those manufactured before the 1970s are known to contain toxic substances that are harmful to the environment and humans. Make sure you avoid any skin contact. If you are finding it difficult to install a new Ballast, please contact Mr. Electric of Dallas.

A smoke detector should only sound an alarm to alert you when tiny particles of smoke are detected. However, a smoke detector beeping nonstop means the device is faulty and needs to be repaired. Some of the common culprits behind a smoke detector that keeps…
Read More
If you’ve ever had an expensive electronic fried during a power outage or had to put out an electrical fire after a random power spike, you know the kind of damage a power surge can cause. That’s where power surge protection comes in. So, if…
Read More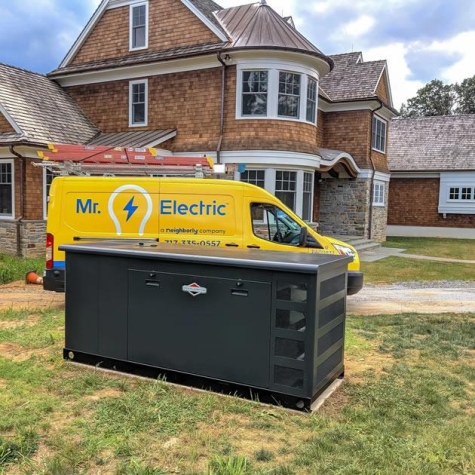
The decision to invest in a backup power source is a significant one, and choosing the right fuel type is a key aspect of this investment. The common fuel sources for standby generators include natural gas, diesel, and propane. Each one…
Read More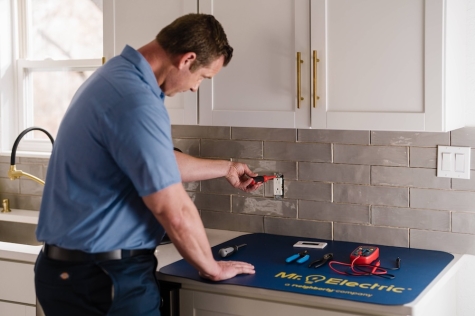
At Mr. Electric, we understand that dealing with electrical issues can be frustrating and inconvenient. However, knowing basic electrical troubleshooting steps can save the day and prevent serious electrical hazards. In this guide, we’ll share basic electrical troubleshooting tips for homeowners. But remember, if an…
Read More