Menu
Call this Thursday to Get 10% OFF
Call this Thursday to Get 10% OFF
24-Hour Emergency Electricians in DallasCall this Thursday to Get 10% OFF
Call this Thursday to Get 10% OFF
24-Hour Emergency Electricians in Dallas
Snap, crackle, and pop is something that you associate with a popular cereal brand. Snap, crackle, and pop should never be associated with your light switches. If you notice that some of your lights switches are making a crackling sound once you turn them on, it’s a common sign that the switch is old and needs an upgrade. If you need help or advice from a certified electrician, Mr. Electric of Dallas is always here to help!
The way your light works is it receives energy and electrical current through a continual flow of electricity. When the light switch is ‘on’ the electricity is flowing, and when the light switch is ‘off’, that flow is interrupted.
If your light switches are making crackling noises when you turn them on, you are at risk for a fire hazard. There may be loose or bad connections somewhere in your electrical wiring, or there may be a lot of wear and tear on the wires from years of use. Our lighting fixtures are one of the most common things we use in our homes, so it’s no surprise they will need updating at some point.
If you notice a crackling noise in any of your light switches when you turn them on, it’s probably time to switch the ground light switch. Here’s how to do it…

How to Update a Grounded Light Switch
Replacing a light switch is not the hardest thing to do, but if you aren’t familiar with electrical wiring, you may want to give the team at Mr. Electric of Dallas a call!
No matter the size or complexity of your residential or commercial project, you can count on us to provide professional, high-quality results.
For professional and cost-effective smoke detector replacement in Dallas, TX, rely on the qualified and experienced electricians in Dallas, TX.…

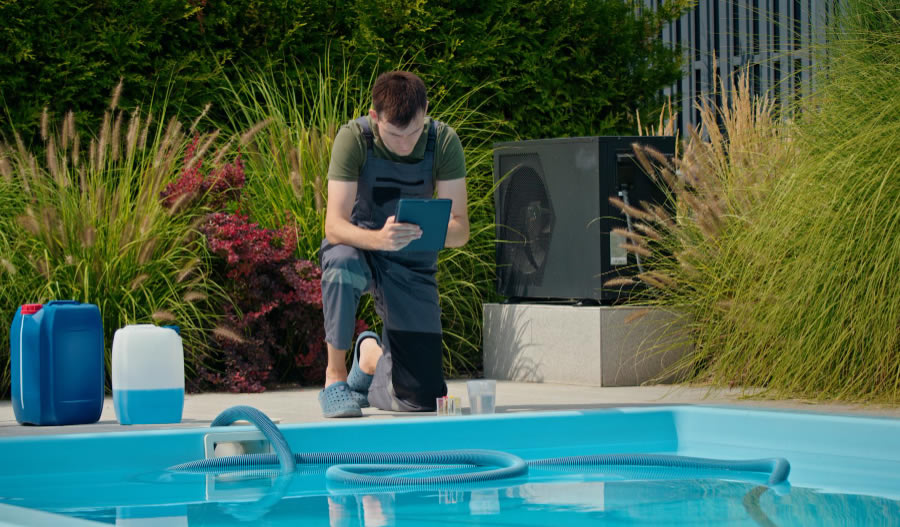
Are you tired of waiting until June or July to enjoy your swimming pool? If you want to get the most…
Dealing with electrical problems can be frustrating and challenging for busy families and businesses. At Mr. Electric of Dallas, we are…

Has it been too long since your last appointment with a qualified electrician? Sometimes, damaged circuits, outdated wiring, and other…

Are you looking for creative ways to decrease your monthly energy usage while improving the convenience and comfort of your living…
.webp)

A smoke detector should only sound an alarm to alert you when tiny particles of smoke are detected. However, a smoke detector beeping nonstop means the device is faulty and needs to be repaired. Some of the common culprits behind a smoke detector that keeps…
Read More
If you’ve ever had an expensive electronic fried during a power outage or had to put out an electrical fire after a random power spike, you know the kind of damage a power surge can cause. That’s where power surge protection comes in. So, if…
Read More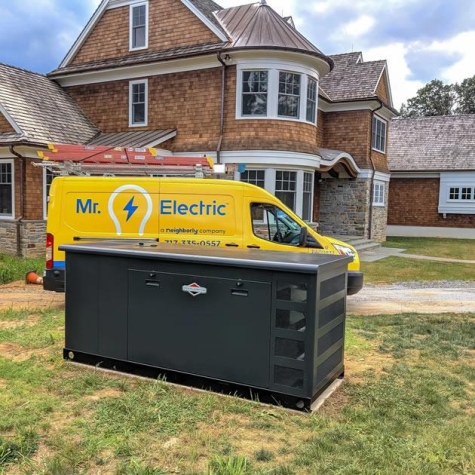
The decision to invest in a backup power source is a significant one, and choosing the right fuel type is a key aspect of this investment. The common fuel sources for standby generators include natural gas, diesel, and propane. Each one…
Read More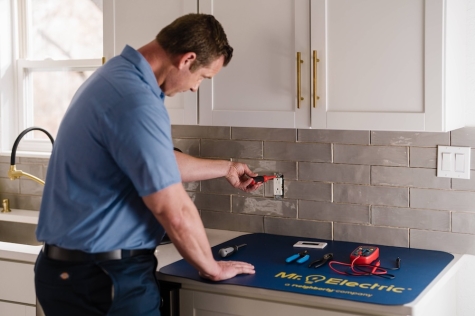
At Mr. Electric, we understand that dealing with electrical issues can be frustrating and inconvenient. However, knowing basic electrical troubleshooting steps can save the day and prevent serious electrical hazards. In this guide, we’ll share basic electrical troubleshooting tips for homeowners. But remember, if an…
Read More